
| WWT Shows | CLICK TO: Join and Support Internet Horology Club 185™ | IHC185™ Forums |

|
• Check Out Our... • • TWO Book Offer! • |
Welcome Aboard IHC185™  Internet Horology Club 185 IHC185™ Discussion Site Main Page Technical, Shop Talk and Internet Links Horological Tools, Books and Miscellaneous Help needed with Bezel collet
Technical, Shop Talk and Internet Links Horological Tools, Books and Miscellaneous Go | New Topic | Find-Or-Search | Notify | Tools | Reply to Post |
I recently obtained a National 6 jaw bezel collet for my watchmakers lathe. When I tried it out it was nowhere near running true. Closer inspection revealed that the previous owner had taken the jaws off to clean them and put them back in the wrong place. After cleaning them properly I found some small numbers on the back of the jaws so I know the order they go in. However I can not find anything on the chuck itself. Can anyone tell me where to look for the mark that indicates jaw no 1. Also which way do you then go for the rest of them. Some of the steps need to be cleaned up as well. Should these be parrallel or should they have a slight taper. TIA Steve 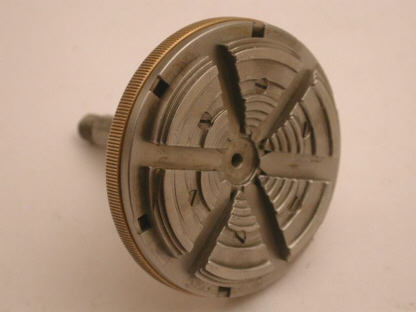 | |||
|
| IHC Life Member Certified Watchmaker |
Hi Steve This may help. note anti clockwise direction of numbers. 1 starts left of key. 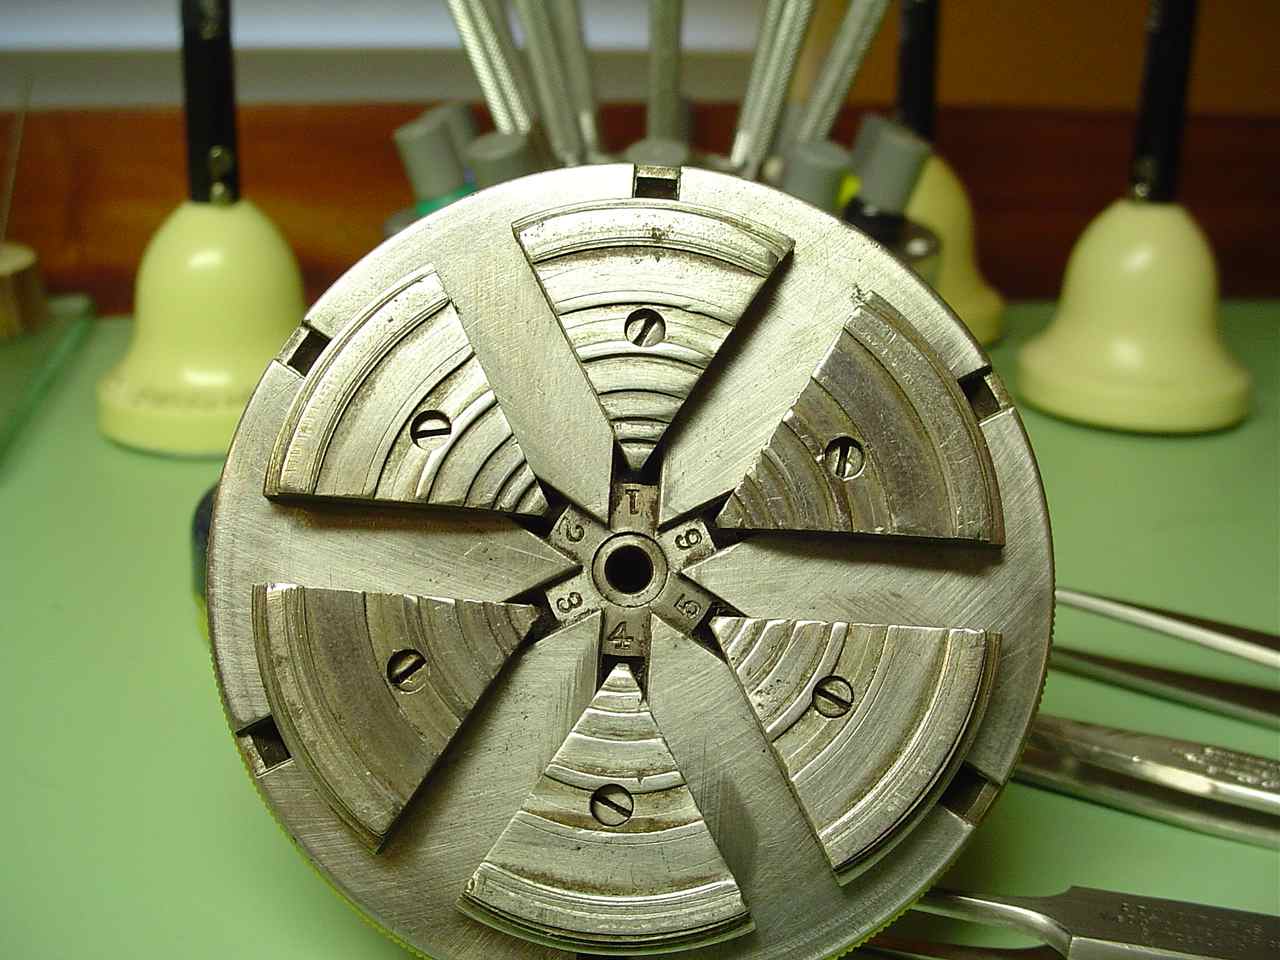 | |||
|
Hello Chris, Mine does not have numbers in the centre like yours does so I assume someone has removed them. Now that I know which way to go I will find the best option, there are only 6 to choose from, and re number the base accordingly. Thanks Steve | ||||
|
Had a chance to do some work on this project. Tried to put the jaws back on in the same direstion as Chris's chuck but it wouldn't work. I ended up with the 2 halfs of the key on the outer sides instead of together. So on my chuck the jaws must go clockwise. That left me with 6 options so I tried each with a bezel ring and chose the position that was closest to tru using a dial indicator. I put some numbers back on the body to set the positions and then cleaned up the inner steps to get the nice square edges back. Left the outer angled steps alone as they looked OK. It will never be new but now it is usable. 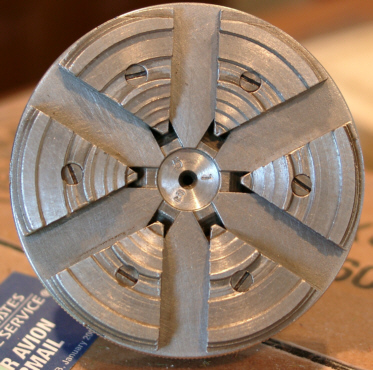 | ||||
|
Hi Stephan, I'm wondering if, after you solved the ordering problem, the jaws to the chuck ended up in a consecutive sequence? Could there perhaps be a punch mark to designate where jaw #one was supposed to go? Unlike the reversible jaws in a three-jaw chuck I presume these jaws only work one way. Anyway, I'm glad you got things figured out! I've got two of these and prefer one or the other depending on the job I'm trying to do. They are a wonderfully useful tool. Congratulations on the find. -Cort | ||||
|
Hello Court, I did find numbers on the back of the jaws and kept them in that order. I suspect there used to be markings in the centre part of the body like the example Chris shows that had dissappeared when this area was opened up a bit by the previous owner. The jaws will only go one way as there is a dowel pin next to the screws so you can't turn the jaws around. You can start in any place you like so it is nice to know where jaw 1 should go. After that the other marks are a bonus. As you state these are a very usefull device and will hold all sorts of things. | ||||
|
| Powered by Social Strata |
| Your request is being processed... |
©2002-2025 Internet Horology Club 185™ - Lindell V. Riddle President - All Rights Reserved Worldwide
| View $GS_USERNAME's User Profile | |
| View Recent Posts by $GS_USERNAME | |
| Notify me of New Posts by $GS_USERNAME |