
| WWT Shows | CLICK TO: Join and Support Internet Horology Club 185™ | IHC185™ Forums |

|
• Check Out Our... • • TWO Book Offer! • |
Welcome Aboard IHC185™  Internet Horology Club 185 IHC185™ Discussion Site Main Page Technical, Shop Talk and Internet Links Horological Tools, Books and Miscellaneous J. H. Rosberg Watchmakers Bench
Technical, Shop Talk and Internet Links Horological Tools, Books and Miscellaneous Page 1 2
Related Content: Pocket Watch Discussions
Go | New Topic | Find-Or-Search | Notify | Tools | Reply to Post |
| IHC Life Member |
I am restoring a J.H. Rosberg watchmakers bench. Was wondering if there is anyone with info that would help me date the bench and tell me what kind of wood it was made from. After stripping and sanding the very dark finish off I am left with a very light colored wood that I think might be ash, poplar, maple, or combinations depending on whether it is the drawers, sides, etc. Thanks!! | ||
|
| ||||
|
| IHC Life Member |
Thanks for your post and link to the neat catalog. I will try to post pictures of my JH Rosberg Bench...before and after restoration. 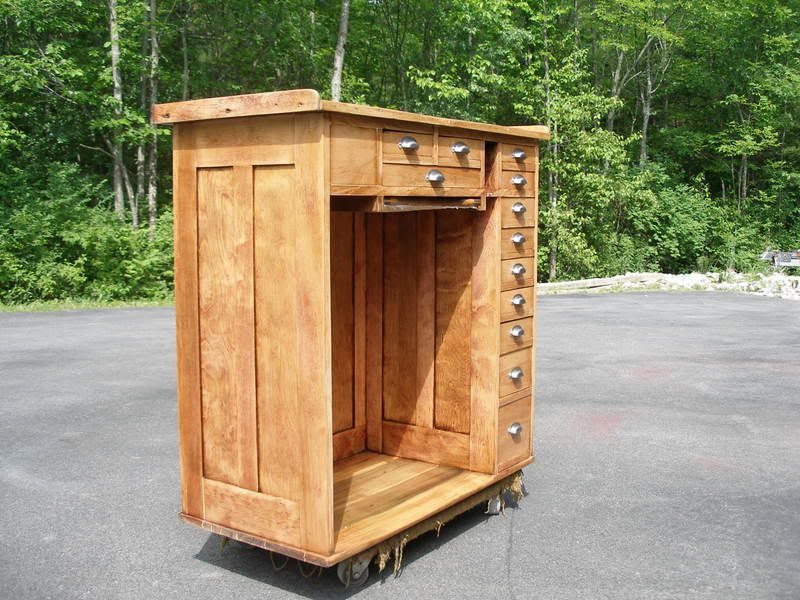 | |||
|
| IHC Life Member |
before 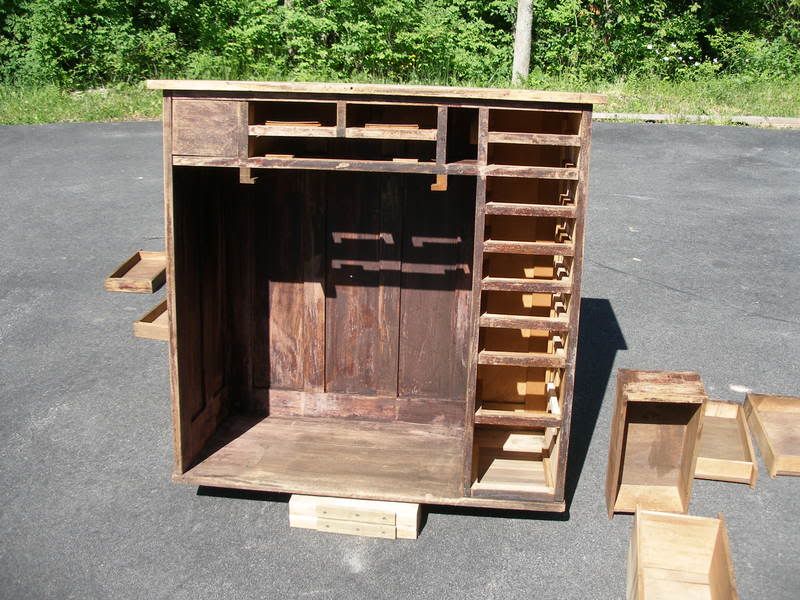 | |||
|
| IHC Life Member |
after 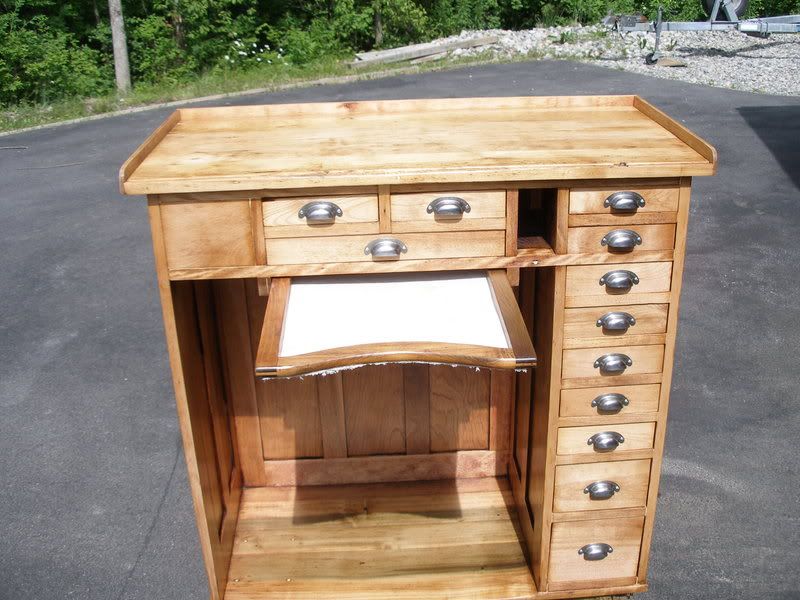 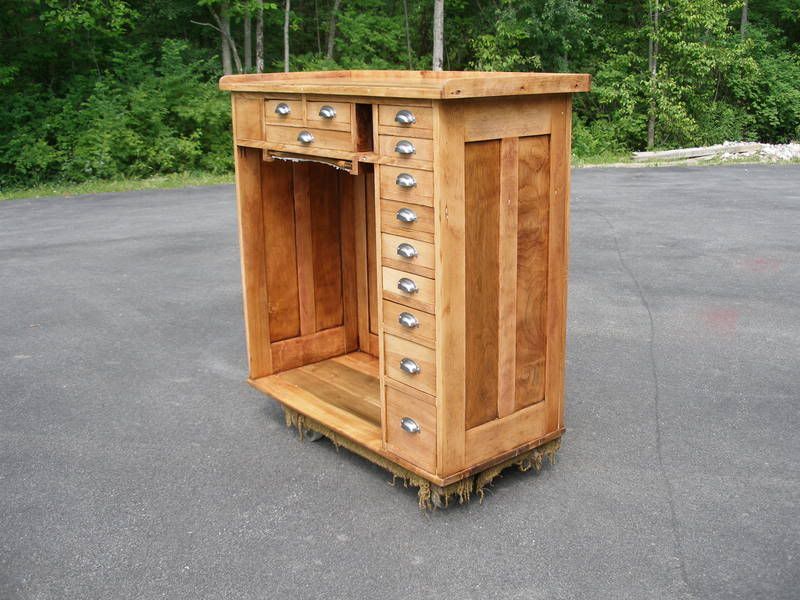 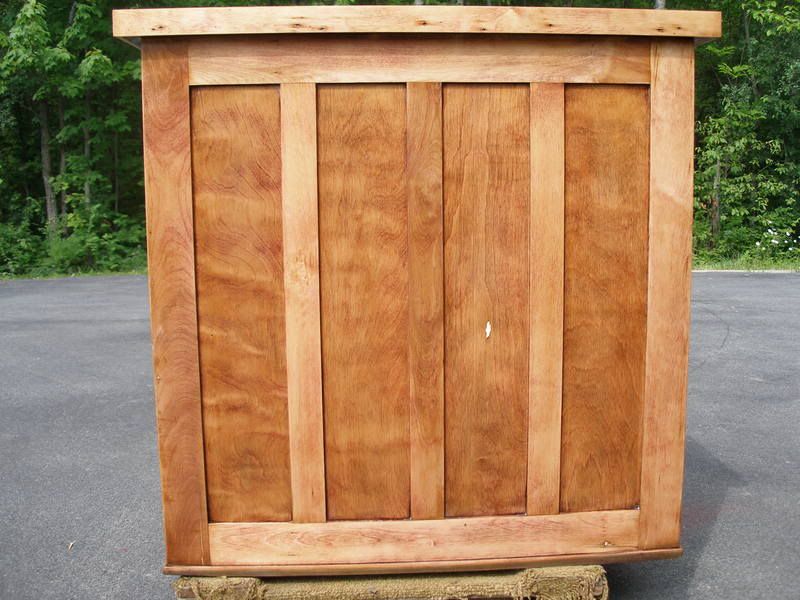 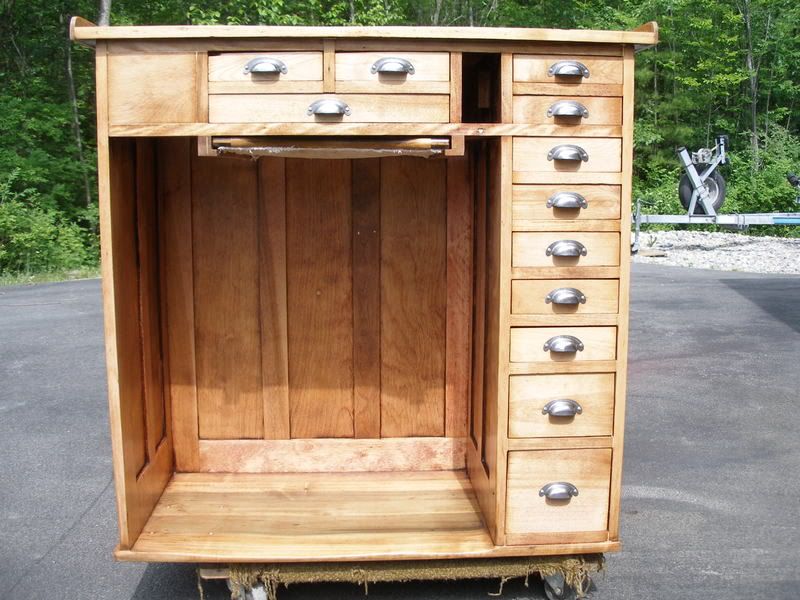 | |||
|
| Administrative Assistant |
Wow! What a tranformation! Thanks for sharing your restoration with us. Debbie | |||
|
| IHC Member 1124 |
Roger, Wow, what a nice piece. Such a clean design and a fantastic restoration. I'm also a furniture buff and have been considering building my own bench, but this just put me back to square one. I love the fact that you can still see the wear to the foot rest area which makes you realize that someone spent a great deal of their life sitting here, probably servicing some of yesterday's "dream watches". Thanks for sharing this. ©harles | |||
|
Gorgeous bench Roger and a very nice restoration! I've restored quite a bit of English Victorian furniture over the last few years, and I know too well the shear grunt that goes into a job like that! I may just have to copy it Best regards John | ||||
|
| IHC Life Member |
Thats Beautiful, a well used and restored watchmakers "left Hand", I sincerely hope you use it! | |||
|
Roger, Very nice restoration. I love it when you can see the natural grain in a piece as this. It is much better than a dark stain. I hope you will restore many pocket's on this bench! | ||||
|
| IHC Life Member |
Thank you all for the kind words on my bench restoration. I too love the wear in the foot rest area and think of all the work that was performed at this bench. I have already begun to use it for its intended purpose! I didn't keep close tabs, but I estimate 60-70 hours went into this project. | |||
|
| IHC Life Member |
Just a bit of trivia in reference to the bench. All the drawer pulls were originally plated in brass, but the finish had worn badly and looked awful. I decided to bring them down to steel so each was wire wheeled, then emery papered with 320, 400 and crocus cloth. Next polished with buffing compound and wheel and finally sprayed with clear laquer. 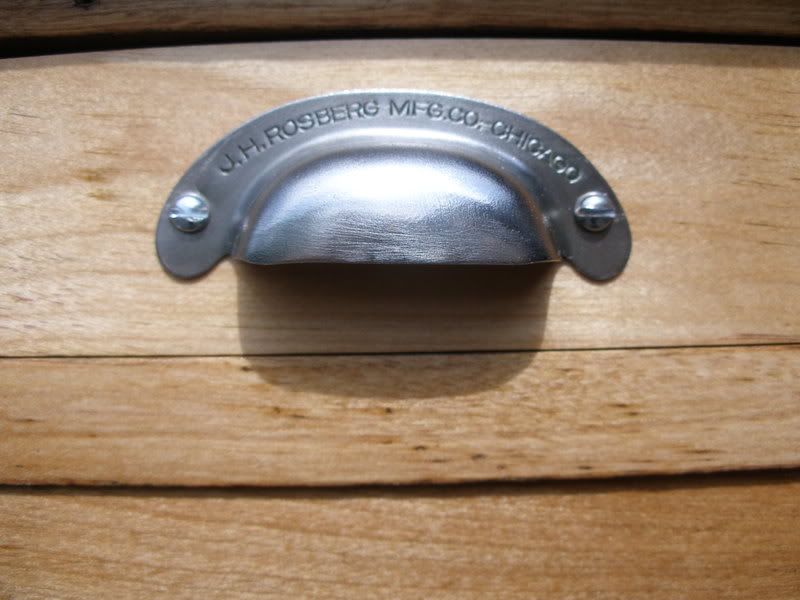 | |||
|
| IHC Member 1101 Site Moderator |
Roger, Very nice job....that's a beautiful piece of history. Would it be possible to get some overall dimensions of that posted? I would need H X W X D and the size of the area where the legs go. I think I might want to put my woodworking skills to the test here. Steve | |||
|
| IHC Life Member |
That would be a nice project! The dimensions are: 37 3/4 H (Top of worksurface) 18 D (Base) 37 W Top dimensions are: (Not counting the small strips on the left, right, and back) 39 1/4 W 19 1/2 D The open leg area dimensions are: 29 3/4 H 28 1/2 H to the bottom of the apron slide 26 3/4 W 17 1/4 D Hope this helps and if you make a similar bench, please be sure to let us see it!! | |||
|
| IHC Member 1101 Site Moderator |
Roger, Thanks so much for the dimensional info. I am definitely going to have to build one of these. I see this as a very functional piece of furniture. I'll start on drawing it up this weekend. One thing I have a question about on yours is that void between the center drawers and the column of end drawers. Would you guess there use to be a drawer for that? If not, anyone care to guess what would have been in there? Also, are the drawers dovetailed and of the same material? Steve | |||
|
Steve, Check out the old catalog link on Lawrence Fure's post. Both models show drawers in that position. Roger's bench appears to have a panel in the upper right hand side and possibly the space you are refering to. | ||||
|
| IHC Life Member |
Steve & Ed...The void is just an open compartment that I would suspect would have been used for long tools with handles that the watchmaker would want to just grab without opening drawers. I don't think this model bench was intended to have a drawer there. Now that I look at it, the space isn't even wide enough to put a matching drawer pull there. The blank panel on the left is made that way because the watchmakers lathe would have mounted on top of the bench on that side (and this one did have holes where a lathe had been). You can see in the base on the left there are 4 light colored spots where I filled marks that I believe were left by the lathe footpedal. I'm going to attach some pics of drawer detail and an "in service" picture. Sorry if the drawer detail pics are not great, but I think you'll get the idea. The drawers are not dovetailed. I don't think I have ever seen a drawer made this way. Simple, but strong. The last picture is the drawer stop. 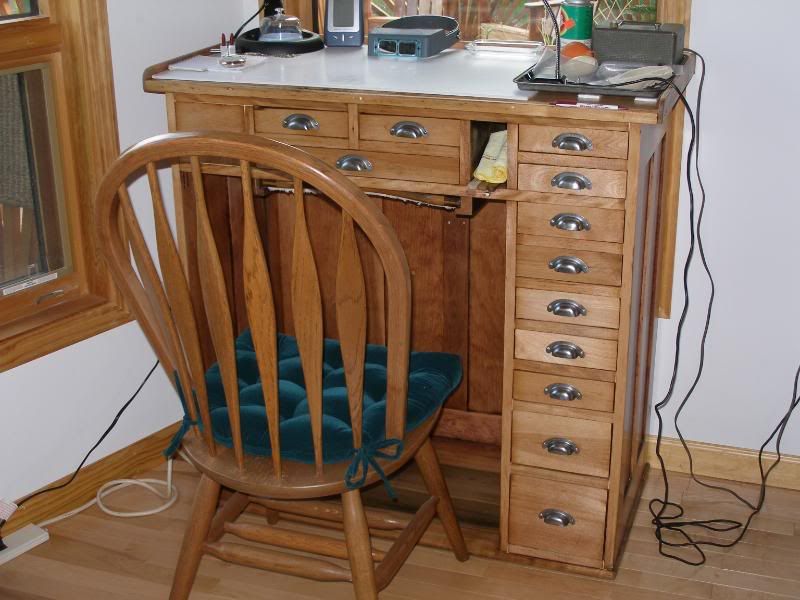 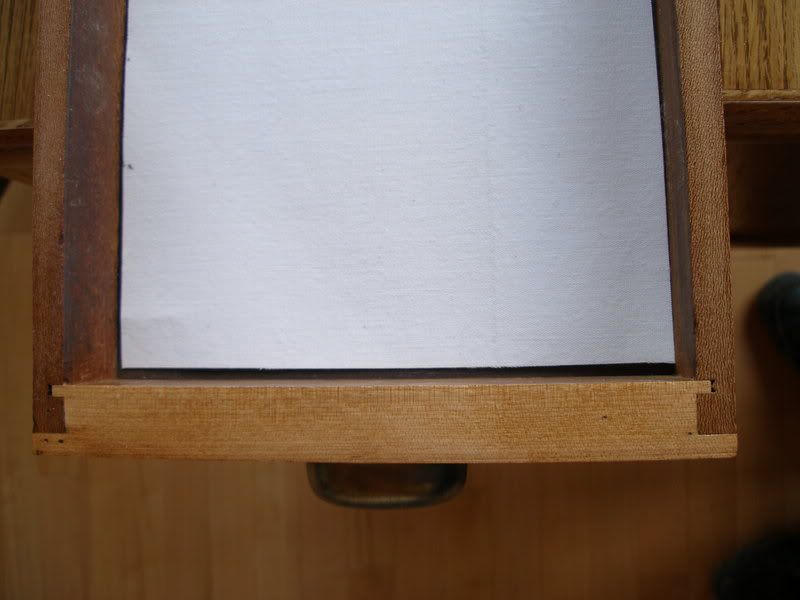 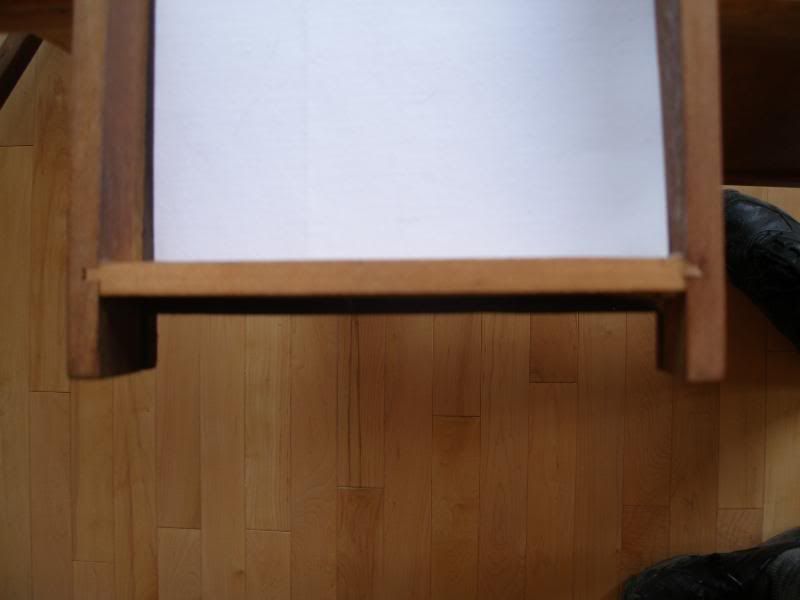 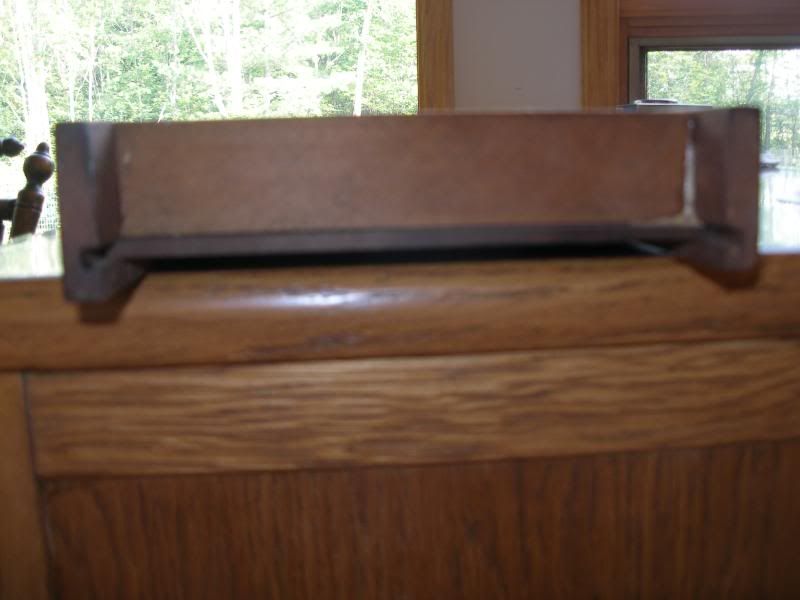 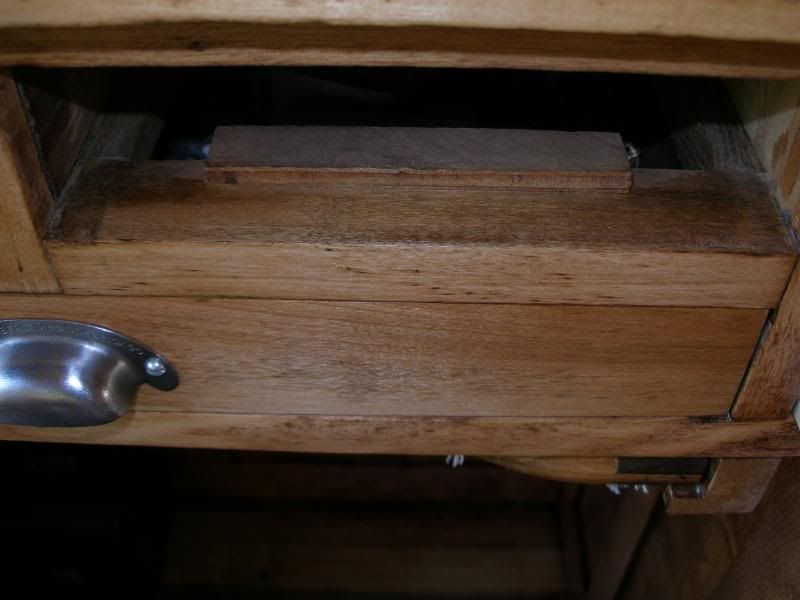 | |||
|
| IHC Member 1101 Site Moderator |
I found that bench and have included the link below. Roger's looks quite similar to the 15 drawer model which I like best and will probably draw it up more like this one. I also like the open bottom with feet because mine will be on carpet and be a little more stable I think. I also like the footrest. I like the lock seem joints on Rogers desk....very clean and quite strong. Also easier than dovetails. So thanks Roger, you have been quite helpful and thanks Ed for the heads up on the catalog. Steve Tool Catalog | |||
|
| IHC Life Member |
That design is probably a bit more practical than mine. I believe my bench pre-dates the ones in the catalog. The catalog indicates the sides are 5 ply laminate where mine is made quite different. It must have been a lot more cost effective to make the one shown in the catalog since the design appears simpler with far fewer individual parts. I'm sure you will enjoy building it and working at it as well. | |||
|
| IHC Member 1101 Site Moderator |
Roger, Actually I really like the panel sides of your cabinet and I will incorporate that aspect of it into mine. It has that Mission Style of cabinetry to it which makes it look elegant yet simple. Well see how this goes. Maybe I will get on it sooner rather than later. I think I will build the first one out of oak and see what it looks like. Steve | |||
|
Steve, How are you progressing with your copy of the Rosberg bench? | ||||
|
| IHC Member 1101 Site Moderator |
Ed, Still trying to find the time to get it drawn up and figure a bill of materials. It is right at the top of my list. There are no real constuction obstacles, framework is pretty straight forward and the most time will probably be in the construction of all the drawers, something like this would look best with dovetail joinery. I think I would like to use the material they use on drafting tables on the top as it is pretty durable, cleans easily, and has some shock absorbing qualities so things don't bounce quit as much. I built a little table top unit using this stuff and it works nicely. Steve  | |||
|
| IHC Life Member |
Roger, if your "benchwork" on watches is as admirable as that on this fine bench restoration, I have no doubt you will really enjoy both to the fullest. btw, I have little doubt that your bench could have been the same as the 15 drawer bench in the "tool catalog" link that Steve gave us to look at. As for, the "2 little drawers" pictured in that advert, were I to have bought that bench I could well have removed those two drawers for use elsewhere as parts boxes, and removed the little plug-in drawer separator so as to make more room for bigger longer stuff I would be using all the time, like my little brass hammer, a wooden handeled pick, a jeweler's hand vise, etc., etc. | |||
|
Steve, I have always done my raised panel doors with a router. A month ago a bought a mortising attachment for my drill press and a tenon cutter for the tabel saw. I have built 6 replacement doors for my kitchen cabinets with it so far. The joints are much stronger than the router made joints. But the mortising attachment is a pain to set up. I have set aside material to build a small table top bench, but now I am contemplating a full size work bench instead. Keep us apraised of you progress! Dave, any ideas you may have to improve the bench would sure be appreciated. I'm sure Steve is going to make some changes to suite his needs also. Ed | ||||
|
| IHC Member 1101 Site Moderator |
Ed, I realized today that this computer did not have my drafting software set up on it yet so I went ahead and did that and spent a bunch of time setting the menus back up to maximize the efficiency of the the program. I think I will work on getting some plans drawn up here in the next couple of weeks. I bought a Delta mortising machine and it works nice...doesn't take much time to set up and does a really nice job. I to have a tennoning tool for my table saw and it makes doing the tennons go much faster. I built all the cabinets in my Kitchen, bathrooms, and full wall entertainment center. My doors were all raised panel and I did them on the router and used pocket screws on the inside of the joints at assembly then used the matching plugs to fill the holes. They turned out well. I'll keep you posted on how the plans are going. Steve | |||
|
I envy you! A mortising machine is the way to go. | ||||
|
| Site Administrator IHC Life Member |
Evidently that hole is supposed to be there it. I have the same bench except Roger's is purtier and cleaner. 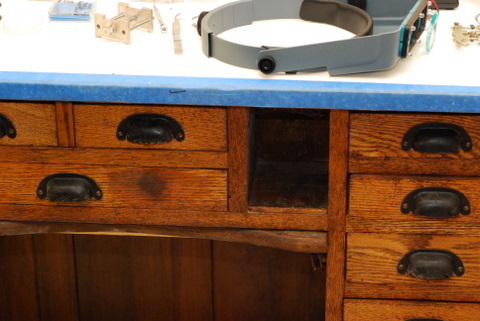 | |||
|
The Ad says that those 2 small drawers, where the emply space is on Roger's bench, were for Brushes and Files, so I can see that some may want to use it for their own needs, and with the different styles, I would guess that they could choose what they want. Notice the left side is closed as Roger mentioned, but the Ad has a drawer there, and I understand that the early models, must have been made to order anyway, so back then it was most likely buyers choice. In the early days, almost All handmade furniture was custom made, even from a large company. Just like Steve wants to do! Just my thoughts. That is one Fantastic Bench! Sheila | ||||
|
| IHC Member 1101 Site Moderator |
Phil, It looks as though there is a little pull out table located just above where your knees are. How sturdy is this and what might it have been the purpose for it? I notice Rogers has one as well. Is this where you put your lunch when your wife brings it in to you? Seriously, just trying to understand the original design. Steve | |||
|
| Site Administrator IHC Life Member |
Steve, that is a cloth drawer that pulls out against your belly to catch those flying screw and springs.Just like Dave ties his apron to his bench to hopefully catch the inevitable. I also have my watch room floor painted white. I will get down there today and get some detailed photos for you. | |||
|
| Site Administrator IHC Life Member |
Steve, this is the drwawer pull out. My bench is fairly old, I had to replace the cloth.  | |||
|
| IHC Member 1101 Site Moderator |
Phil, Now I understand what that pull out drawer is for. I guess that would make sense. So I now have a better understanding of how this whole thing works. Steve | |||
|
| IHC Life Member Site Moderator |
Steve I don't know what others use for the cloth but I bought a piece of artist canvas & replaced my worn out cloth with that. Tom | |||
|
| Powered by Social Strata | Page 1 2 |
| Your request is being processed... |
©2002-2025 Internet Horology Club 185™ - Lindell V. Riddle President - All Rights Reserved Worldwide
| View $GS_USERNAME's User Profile | |
| View Recent Posts by $GS_USERNAME | |
| Notify me of New Posts by $GS_USERNAME |